sudo sysctl debug.lowpri_throttle_enabled=0Return Time Machine to normal
sudo sysctl debug.lowpri_throttle_enabled=1
Thanks OSXDaily

Just another tech blog
sudo sysctl debug.lowpri_throttle_enabled=0sudo sysctl debug.lowpri_throttle_enabled=1
To do this for the whole document:
To do this for a selection:
Reference:
Tips.net
Mute, 1, 1, 9, [middle of the arrow pad box with a ↩︎]
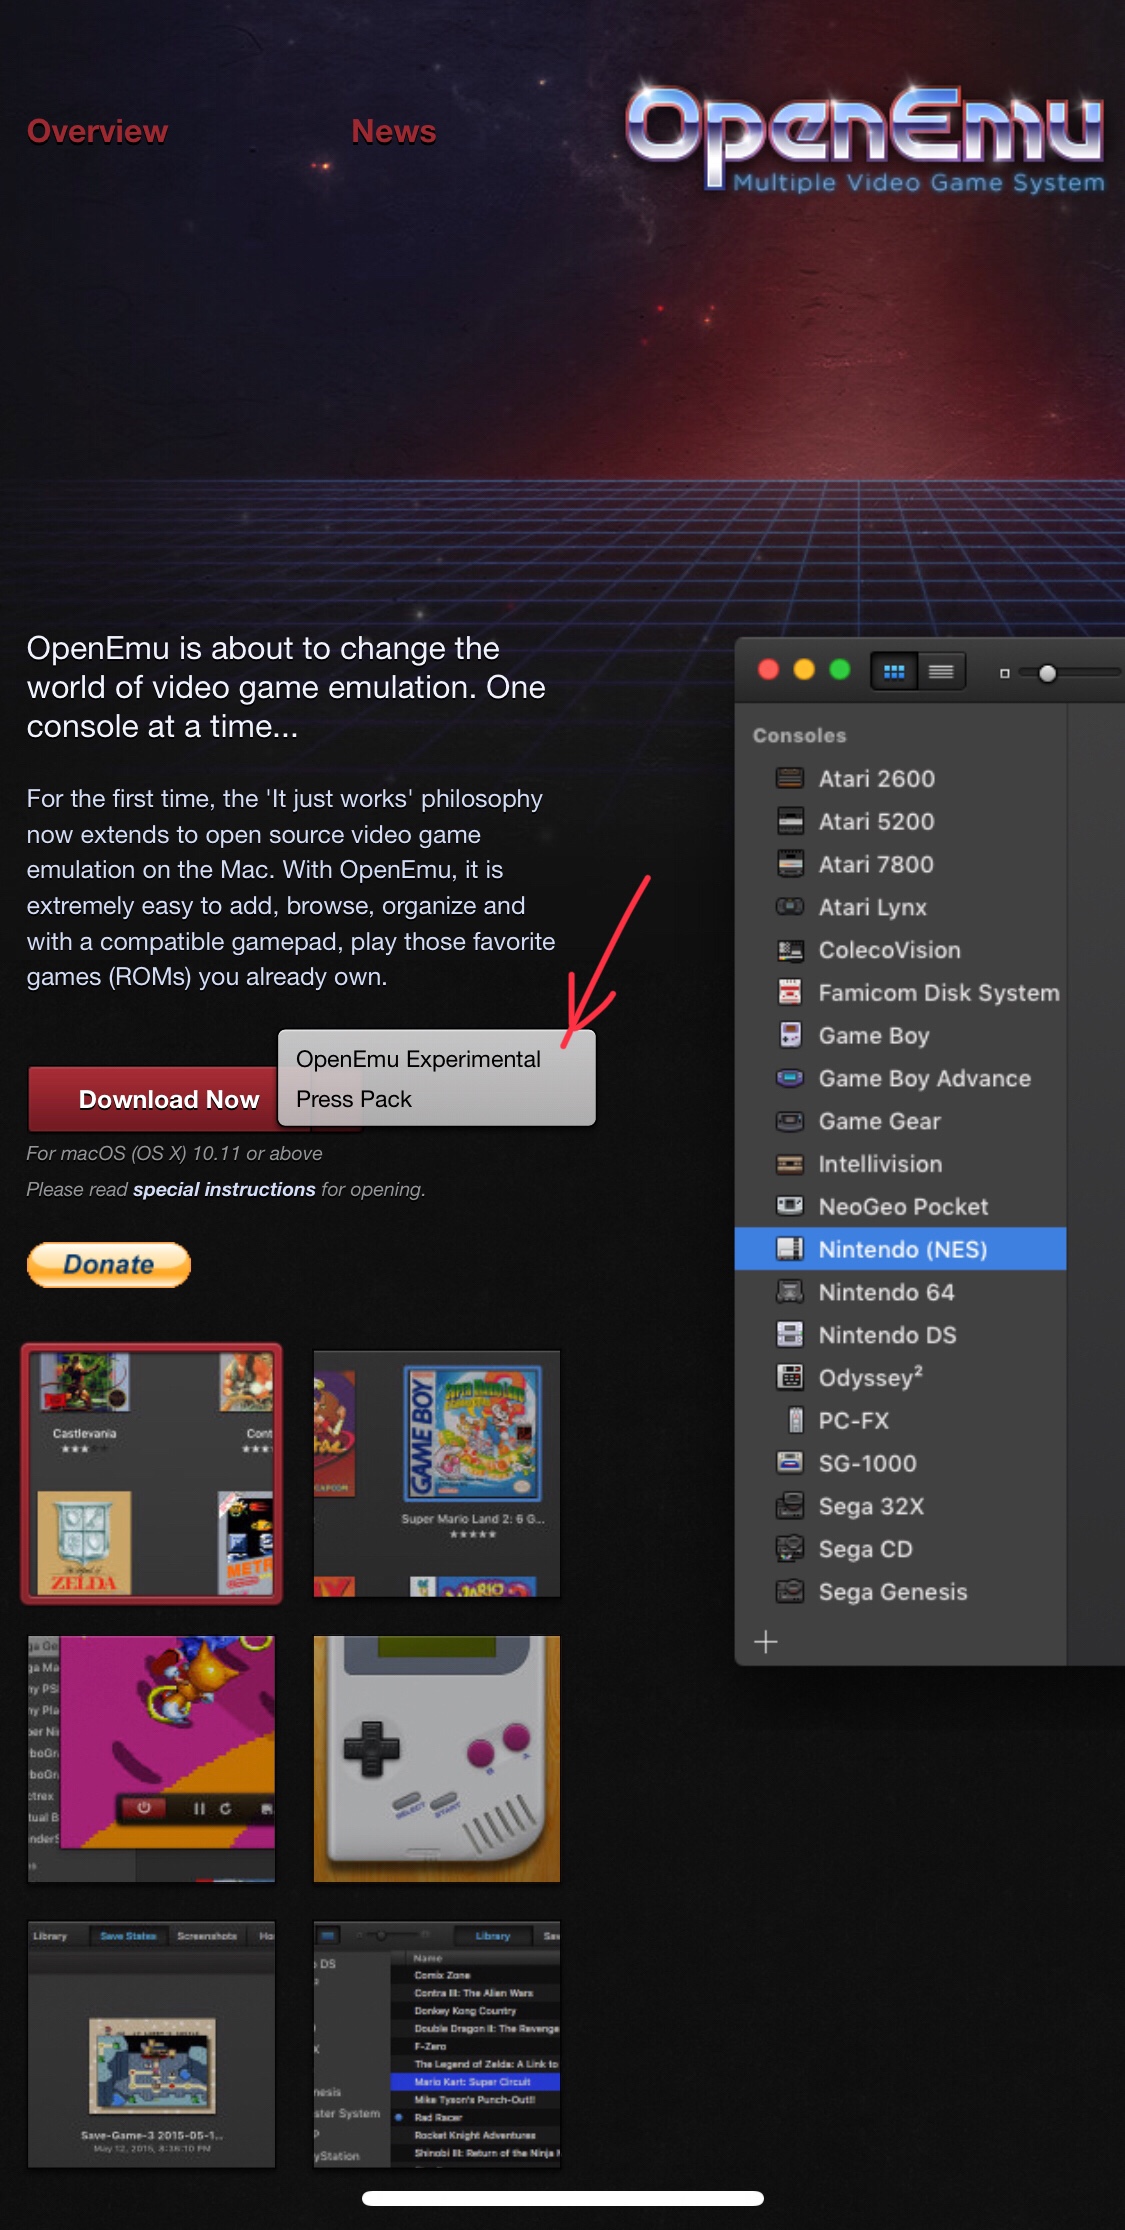
If like me, you decided to try out OpenEmu and then thought you’d like to try running MAME games but couldn’t get it going with other guides, try this. I didn’t worry about losing saved states.
Find OpenEmu in the Applications folder (or wherever you keep your apps) and move it to the the trash.
Use the shortcut ⌘ ⇧ G to go to a folder.
~/Library
Find the OpenEmu folder in the Application Support folder and move it to the trash. (Don’t empty trash yet). There was another OpenEmu folder in there too which I moved to the trash.
Download the OpenEmu Experimental version by clicking the disclosure triangle on the right end of the download button at http://openemu.org/
Move OpenEmu to the Applications folder.
Open OpenEmu
Open Preferences > Cores
Install the Cores you want.
Find your ROMs in the OpenEmu folder now in the Trash, and drag them bag to the new OpenEmu.
Make sure the MAME ROMs are .zip compressed.
I’ve been meaning to look at this since 2013. Easy to get a second screen. Next, interacting with it.
References:
Understanding Windows and Screens
UIWindow
UIScreen
Presenting Content on an External Display
//  ViewController.swift

import UIKit

class ViewController: UIViewController {

    override func loadView() {
        let overall = UIView(frame: UIScreen.main.bounds)
        self.view = overall
    }

    override func viewDidLoad() {
        super.viewDidLoad()
        // Do any additional setup after loading the view, typically from a nib.
    }
}
//  SecondViewController.swift

import UIKit

class ViewController: UIViewController {

    override func loadView() {
        let overall = UIView(frame: UIScreen.main.bounds)
        self.view = overall
    }

    override func viewDidLoad() {
        super.viewDidLoad()
        // Do any additional setup after loading the view, typically from a nib.
    }
}
//  AppDelegate.swift

import UIKit
import CoreData

@UIApplicationMain
class AppDelegate: UIResponder, UIApplicationDelegate {

    var window: UIWindow?
    var secondWindow: UIWindow?

    func application(_ application: UIApplication, didFinishLaunchingWithOptions launchOptions: [UIApplicationLaunchOptionsKey: Any]?) -> Bool {
        // Override point for customization after application launch.

        // Understanding Windows and ScreensIn rare cases you might want to create your app’s window programmatically https://developer.apple.com/library/content/documentation/WindowsViews/Conceptual/WindowAndScreenGuide/WindowScreenRolesinApp/WindowScreenRolesinApp.html#//apple_ref/doc/uid/TP40012555-CH4-SW1
        window = UIWindow(frame: UIScreen.main.bounds)
        let myViewController = ViewController()
        window!.rootViewController = myViewController
        window!.backgroundColor = UIColor.purple
        window!.makeKeyAndVisible()

        setUpScreenConnectionNotificationHandlers()
        checkForExistingSecondScreen()

        return true
    }

    // Listing 2-1 Checking for the presence of an external display https://developer.apple.com/library/content/documentation/WindowsViews/Conceptual/WindowAndScreenGuide/UsingExternalDisplay/UsingExternalDisplay.html#//apple_ref/doc/uid/TP40012555-CH3-SW3
    func checkForExistingSecondScreen () {

        if (UIScreen.screens.count > 1) {
            // Get the screen object that represents the external display.
            let secondScreen = UIScreen.screens[1]
            // Get the screen's bounds so that you can create a window of the correct size.
            let secondScreenBounds = secondScreen.bounds

            secondWindow = UIWindow(frame: secondScreenBounds)
            secondWindow!.screen = secondScreen
            // Set up initial content to display...
            let mySecondViewController = SecondViewController()
            secondWindow!.rootViewController = mySecondViewController
            secondWindow!.backgroundColor = UIColor.lightGray
            // Show the window.
            secondWindow!.isHidden = false
        }
    }

    // Listing 2-2 Registering for screen connection and disconnection notifications https://developer.apple.com/library/content/documentation/WindowsViews/Conceptual/WindowAndScreenGuide/UsingExternalDisplay/UsingExternalDisplay.html#//apple_ref/doc/uid/TP40012555-CH3-SW6
    func setUpScreenConnectionNotificationHandlers() {
        let center = NotificationCenter.default
        center.addObserver(self, selector: #selector(handleScreenDidConnect(notification:)), name: NSNotification.Name.UIScreenDidConnect, object: nil)
        center.addObserver(self, selector: #selector(handleScreenDidDisconnect(notification:)), name: NSNotification.Name.UIScreenDidDisconnect, object: nil)
    }
    func handleScreenDidConnect(notification:NSNotification) {

        let secondScreen = notification.object as! UIScreen
        let secondScreenBounds = secondScreen.bounds
        if (secondWindow == nil) {
            secondWindow = UIWindow(frame: secondScreenBounds)
            secondWindow!.screen = secondScreen
            // Set up initial content to display...
            let mySecondViewController = SecondViewController()
            secondWindow!.rootViewController = mySecondViewController
            secondWindow!.backgroundColor = UIColor.darkGray
            // Show the window.
            secondWindow!.isHidden = false
        }
    }
    func handleScreenDidDisconnect(notification:NSNotification) {

        if (secondWindow != nil) {
            // Hide and then delete the window.
            secondWindow?.isHidden = true
            secondWindow = nil
        }
    }
}
Most posts on the subject of parse-server are about migration off parse.com. Here’s what I’ve put together if you want to start fresh. No guarantees I captured every single step, but it works for me.
sudo apt-get update && sudo apt-get upgradesudo apt-get install -y nginxcd /etc/nginx/sites-enabled/sudo nano defaultexample.com, parseapp, and portnumber
# HTTP - redirect all requests to HTTPS
server {
    listen 80;
    listen [::]:80 default_server ipv6only=on;
    return 301 https://\$host\$request_uri;
}

# HTTPS - serve HTML from /usr/share/nginx/html, proxy requests to /parse/
# through to Parse Server
server {
        listen 443;
        server_name example.com;

        root /usr/share/nginx/html;
        index index.html index.htm;

        ssl on;
        # Use certificate and key provided by Let's Encrypt:
        ssl_certificate /etc/letsencrypt/live/example.com/fullchain.pem;
        ssl_certificate_key /etc/letsencrypt/live/example.com/privkey.pem;
        ssl_session_timeout 5m;
        ssl_protocols TLSv1 TLSv1.1 TLSv1.2;
        ssl_prefer_server_ciphers on;
        ssl_ciphers 'EECDH+AESGCM:EDH+AESGCM:AES256+EECDH:AES256+EDH';

        # Pass requests for example.com/parseapp/ to parse-server instance at localhost:portnumber

        location /parseapp/ {
                proxy_set_header X-Real-IP \$remote_addr;
                proxy_set_header X-Forwarded-For \$proxy_add_x_forwarded_for;
                proxy_set_header X-NginX-Proxy true;
                proxy_pass http://localhost:portnumber/parse/;
                proxy_ssl_session_reuse off;
                proxy_set_header Host \$http_host;
                proxy_redirect off;
        }
        location / {
                try_files \$uri \$uri/ =404;
        }
}
sudo service nginx restartcd /etc/nginx/sites-enabled/sudo nano defaultexample.com, parseapp, and portnumber
# HTTP - redirect all requests to HTTPS
server {
    listen 80;
    listen [::]:80 default_server ipv6only=on;
    return 301 https://\$host\$request_uri;
}

# HTTPS - serve HTML from /usr/share/nginx/html, proxy requests to /parse/
# through to Parse Server
server {
        listen 443;
        server_name example.com;

        root /usr/share/nginx/html;
        index index.html index.htm;

        ssl on;
        # Use certificate and key provided by Let's Encrypt:
        ssl_certificate /etc/letsencrypt/live/example.com/fullchain.pem;
        ssl_certificate_key /etc/letsencrypt/live/example.com/privkey.pem;
        ssl_session_timeout 5m;
        ssl_protocols TLSv1 TLSv1.1 TLSv1.2;
        ssl_prefer_server_ciphers on;
        ssl_ciphers 'EECDH+AESGCM:EDH+AESGCM:AES256+EECDH:AES256+EDH';

        location / {
                try_files \$uri \$uri/ =404;
        }
}

server {
        listen 443;
        server_name parseapp.example.com;

        root /usr/share/nginx/html;
        index index.html index.htm;

        ssl on;
        # Use certificate and key provided by Let's Encrypt:
        ssl_certificate /etc/letsencrypt/live/example.com/fullchain.pem;
        ssl_certificate_key /etc/letsencrypt/live/example.com/privkey.pem;
        ssl_session_timeout 5m;
        ssl_protocols TLSv1 TLSv1.1 TLSv1.2;
        ssl_prefer_server_ciphers on;
        ssl_ciphers 'EECDH+AESGCM:EDH+AESGCM:AES256+EECDH:AES256+EDH';

        # Pass requests for parseapp.example.com/ to Parse Server instance at localhost:portnumber/parse/

        location / {
                proxy_set_header X-Real-IP \$remote_addr;
                proxy_set_header X-Forwarded-For \$proxy_add_x_forwarded_for;
                proxy_set_header X-NginX-Proxy true;
                proxy_pass http://localhost:portnumber/parse/;
                proxy_ssl_session_reuse off;
                proxy_set_header Host \$http_host;
                proxy_redirect off;
        }
}
sudo service nginx restart(Episode #39 – CLI Monday: How to Keep Your SSH Sessions Alive)
~/.ssh/configHost * ServerAliveInterval 60
$ cat ~/.ssh/config
Host *
  ServerAliveInterval 60

$ chmod 600 ~/.ssh/config
$ chown user:group ~/.ssh/config
(Digital Ocean: How To Run Parse Server on Ubuntu 14.04)
(Digital Ocean: How To Migrate a Parse App to Parse Server on Ubuntu 14.04)
(GitHub: NodeSource Node.js and io.js Binary Distributions)
sudo apt-get update && sudo apt-get upgradecd ~curl -sL https://deb.nodesource.com/setup_7.x | sudo -E bash -sudo apt-get install -y nodejs build-essential gitsudo apt-get install htopsudo apt-get install bcryptsudo apt install tmuxsudo npm install -g parse-server mongodb-runnercd ~mkdir -p ~/cloudnano ~/cloud/main.jsParse.Cloud.define('hello', function(req, res) {
res.success('Hi');
});
sudo ufw allow ${port}mongo --port 27017use ${newApp}db.createUser({user: "${newApp}", pwd: "${password}", roles: [ { role: "dbOwner", db: "${newApp}"} ]})exitsudo service mongod restartcrontab -e@reboot tmux new-session -s test -d parse-server --port ${port} --appId ${appId} --masterKey ${masterKey} --databaseURI mongodb://${newApp}:${password}@localhost:27017/${newApp} --cloud /home/parse/cloud/main.js --serverURL https://example.com/${newApp}/ --appName "${newAppLong}"@reboot tmux new-session -s test -d parse-server --port ${port} --appId ${appId} --masterKey ${masterKey} --databaseURI mongodb://${newApp}:${password}@localhost:27017/${newApp} --cloud /home/${currentUser}/cloud/main.js --serverURL https://${newApp}.example.com/ --appName "${newAppLong}"Save & exit
npm -vnode -vIf not, download and install fromhttps://nodejs.org/
sudo npm install -g parse-dashboardparse-dashboard --appId ${appId} --masterKey ${masterKey} --serverURL https://example.com/${newApp}/ --appName "${newAppLong}"parse-dashboard --appId ${appId} --masterKey ${masterKey} --serverURL https://${newApp}.example.com/ --appName "${newAppLong}"(Linode: Install Let’s Encrypt to Create SSL Certificates)
[Update 2018 03 06: You might want to look at Certbot]
sudo apt-get update && sudo apt-get upgradewhich gitsudo apt-get install gitPasswordysudo ufw allow 443sudo git clone https://github.com/letsencrypt/letsencrypt /opt/letsencrypt/opt/letsencrypt directory:cd /opt/letsencrypt-d
sudo -H ./letsencrypt-auto certonly --standalone -d example.com -d www.example.compassworda good email addressIMPORTANT NOTES:
- Congratulations! Your certificate and chain have been saved at/etc/letsencrypt/live/example.com/fullchain.pem. Your cert will expire on 2017-xx-xx. To obtain a new or tweaked version of this certificate in the future, simply run letsencrypt-auto again. To non-interactively renew *all* of your certificates, run "letsencrypt-auto renew"
- If you like Certbot, please consider supporting our work by:
Donating to ISRG / Let's Encrypt:
https://letsencrypt.org/donate
Donating to EFF:
https://eff.org/donate-lesudo crontab -e30 2 * * 1 /opt/letsencrypt/letsencrypt-auto renew --quiet --pre-hook "sudo service nginx stop" --post-hook "sudo service nginx start"